
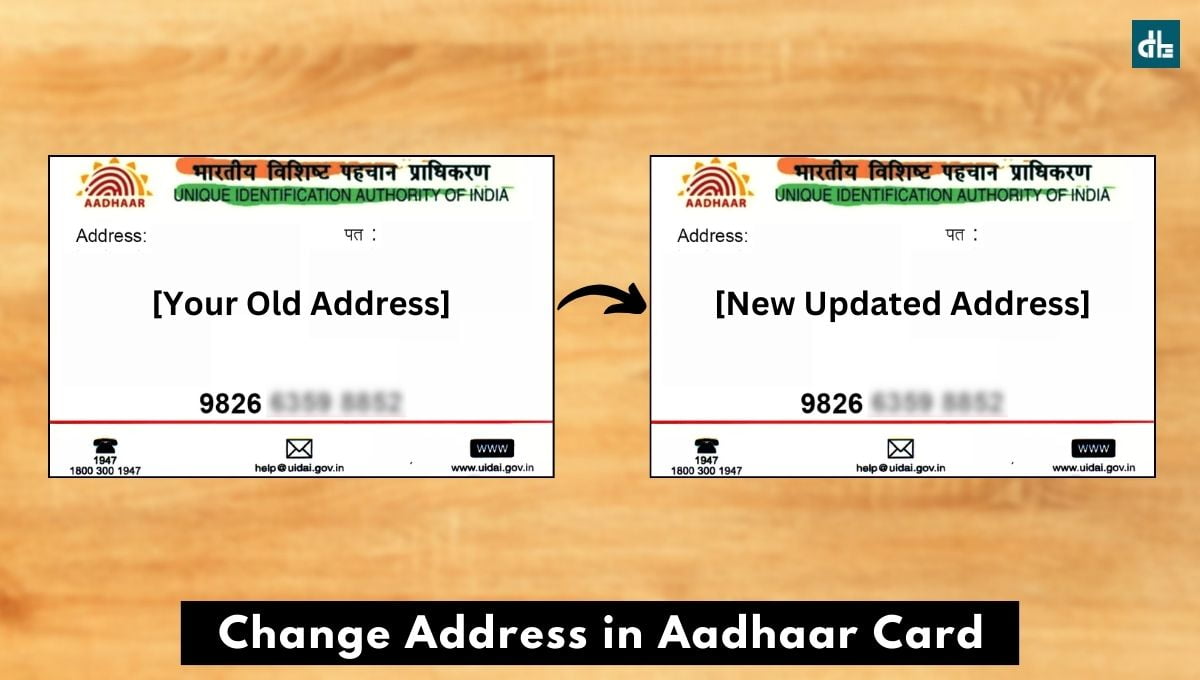
- If the residential address on your Aadhaar card is wrong, you’ll not receive government benefits, banking services, and other official correspondences.
- You can change your current address to a new address on your Aadhar card via the UIDAI portal.
- To update your Aadhaar card address, you will have to pay Rs. 50 to proceed with the request.
An Aadhaar card, also known as UID, serves as proof of identity and address to receive government benefits, banking services, and other official correspondences. But, if your residential address in your Aadhaar card is wrong, it becomes invalid.
Well, in such a case, you can update the address on your Aadhaar card. And, the great part is, that you don’t need to go to any Aadhaar Seva Kendra (Aadhaar center) to change it.
You can change the home address on your Aadhaar card online using the official UIDAI (Unique Identification Authority of India) portal. You will only have to pay Rs. 50 to make an update request. After that, your new address will be updated within 7-10 days.
In this step-by-step guide, we’ll walk you through how to change your address in your Aadhaar card online at home in 2024.
Requirements to change Aadhaar card address
- You must have your registered mobile number linked to your Aadhaar card.
- You’ll need a scanned copy of a valid address proof document from the list provided by UIDAI.
How to change your address in Aadhaar card (Step-by-step)
Step 1: Visit the official UIDAI website
- Open the Chrome or any web browser on your smartphone or laptop.
- Go to the UIDAI official website: “https://myaadhaar.uidai.gov.in/”.
- Select your preferred language such as english, hindi, marathi, and so on.
Step 2: Log in to the Aadhaar Self-Service Update Portal
- From the top menu bar, click on the “My Aadhaar” menu.
- Under the “Update Your Aadhaar” section, select “Update Demographics Data & Check Status.”
- You will be redirected to the Aadhaar Self-Service Update Portal.
- Click the “Login” button in the right section. This will now take you to the user login page of UIDAI.
- Enter your 12-digit Aadhaar number and the captcha code showing beside for verification.
- Once entered, click on “Login With OTP” to receive a one-time password on your registered mobile number.
- Now, enter the OTP received and click on “Login.” You’ll now be logged in to the UIDAI self-update portal.
Step 3: Update your Aadhaar address
- After logging in, select the “Address Update” tab and click on the “Update Aadhaar Online” option.
- You’ll now see the Aadhaar data fields to update. Simply select “Address” and click the “Proceed with Update Aadhaar” button.
- You will be prompted to enter the new address details.
- Enter your new address details such as ‘Care of (Name of husband/father/mother), house, street, landmark, district, city, state, and so on’ in the required fields.
- Once you’ve entered your new address details, you’ll now have to upload your address proof document.
- Choose the “Manual Upload” option and select the valid supporting document type to upload a scanned copy of a valid proof of address document. The acceptable documents include a Passport, Bank Statement/Passbook, Post Office Account Statement/Passbook, Ration Card, Voter ID, Driving License, and so on.
- Now, to upload the document, click the “View Details & Upload Document” option, then browse and select your document.
- Alternatively, if you want to add your address proof via any Digital Repository, click the “Fetch from Digital Repository” option and proceed accordingly.
- Once you’ve uploaded your address proof document, click “Next” at the bottom.
- You will now see a preview of your new Aadhaar address. If there’s a mistake, simply click on “Edit (pencil icon)” to correct your mistakes.
Step 4: Submit Aadhaar address update request
- After updating your Aadhaar address, confirm that the information provided is accurate by checking the agreement box, then click the “Submit” button.
- You’ll now be required to pay Rs. 50 to process the online update request. To proceed to pay, check the agreement box of payment terms and conditions.
- Next, choose “Razorpay” or “PayUbiz” as your payment option and click the “Make Payment” button at the bottom.
- You’ll now be redirected to the payment gateway, simply select your payment method and proceed by paying Rs. 50.
- Once your payment is successful, your Aadhaar address update request will be sent to the UIDAI.
Step 5: Download the Acknowledgment Slip
- After submitting, you will receive an acknowledgment slip containing an SRN (Service Request Number).
- Click on the “Download Acknowledgement” button to save this slip for future reference to track the status of your update request.
Once the address update is processed and approved, you will receive a notification on your registered mobile number. You can download the updated e-Aadhaar with the new updated address from the UIDAI website.
If you don’t see any changes in your address in Aadhaar after applying for the update request, you can track the service request status online in the UIDAI portal for free by heading to the Aadhaar update status tracker portal.
